Branding
Last updated: August 19, 2026
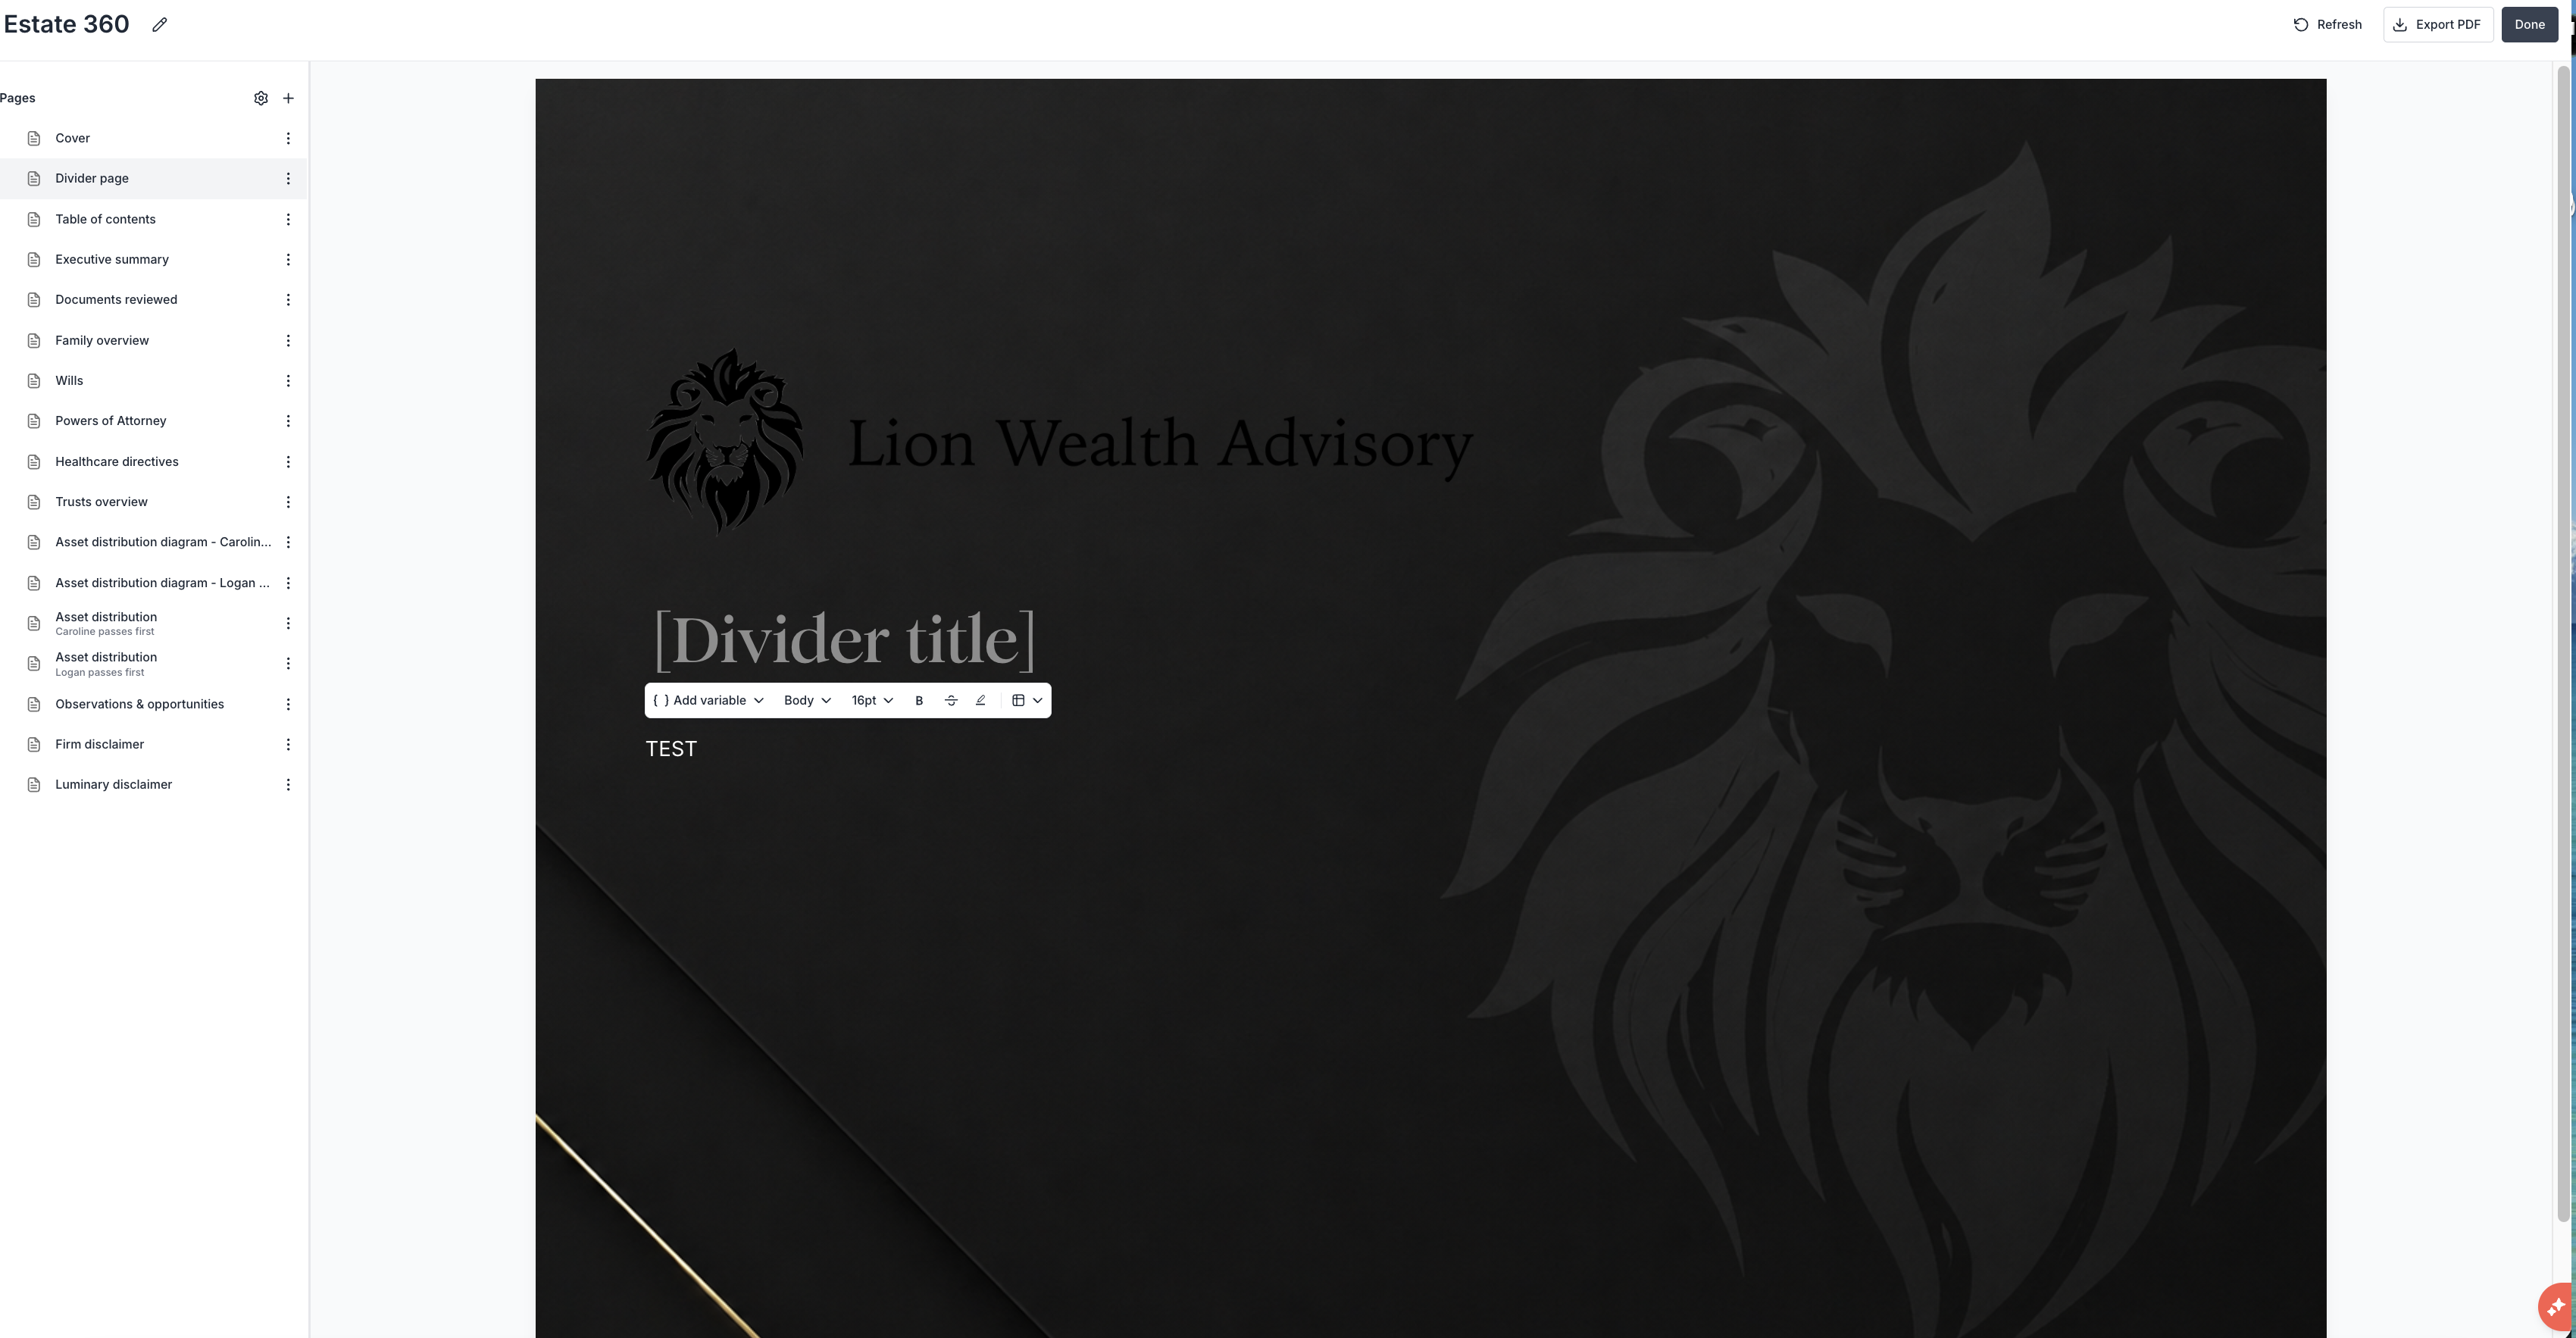
Admins can customize the platform to reflect their firm’s identity by adding logos, updating website and diagram colors, and tailoring cover and divider slides for presentations. To make these updates, visit the Branding tab in Settings.
Changing firm logos
To add or change the logos displayed on Luminary, follow steps outlined below.
Navigate to the Branding tab in Settings.
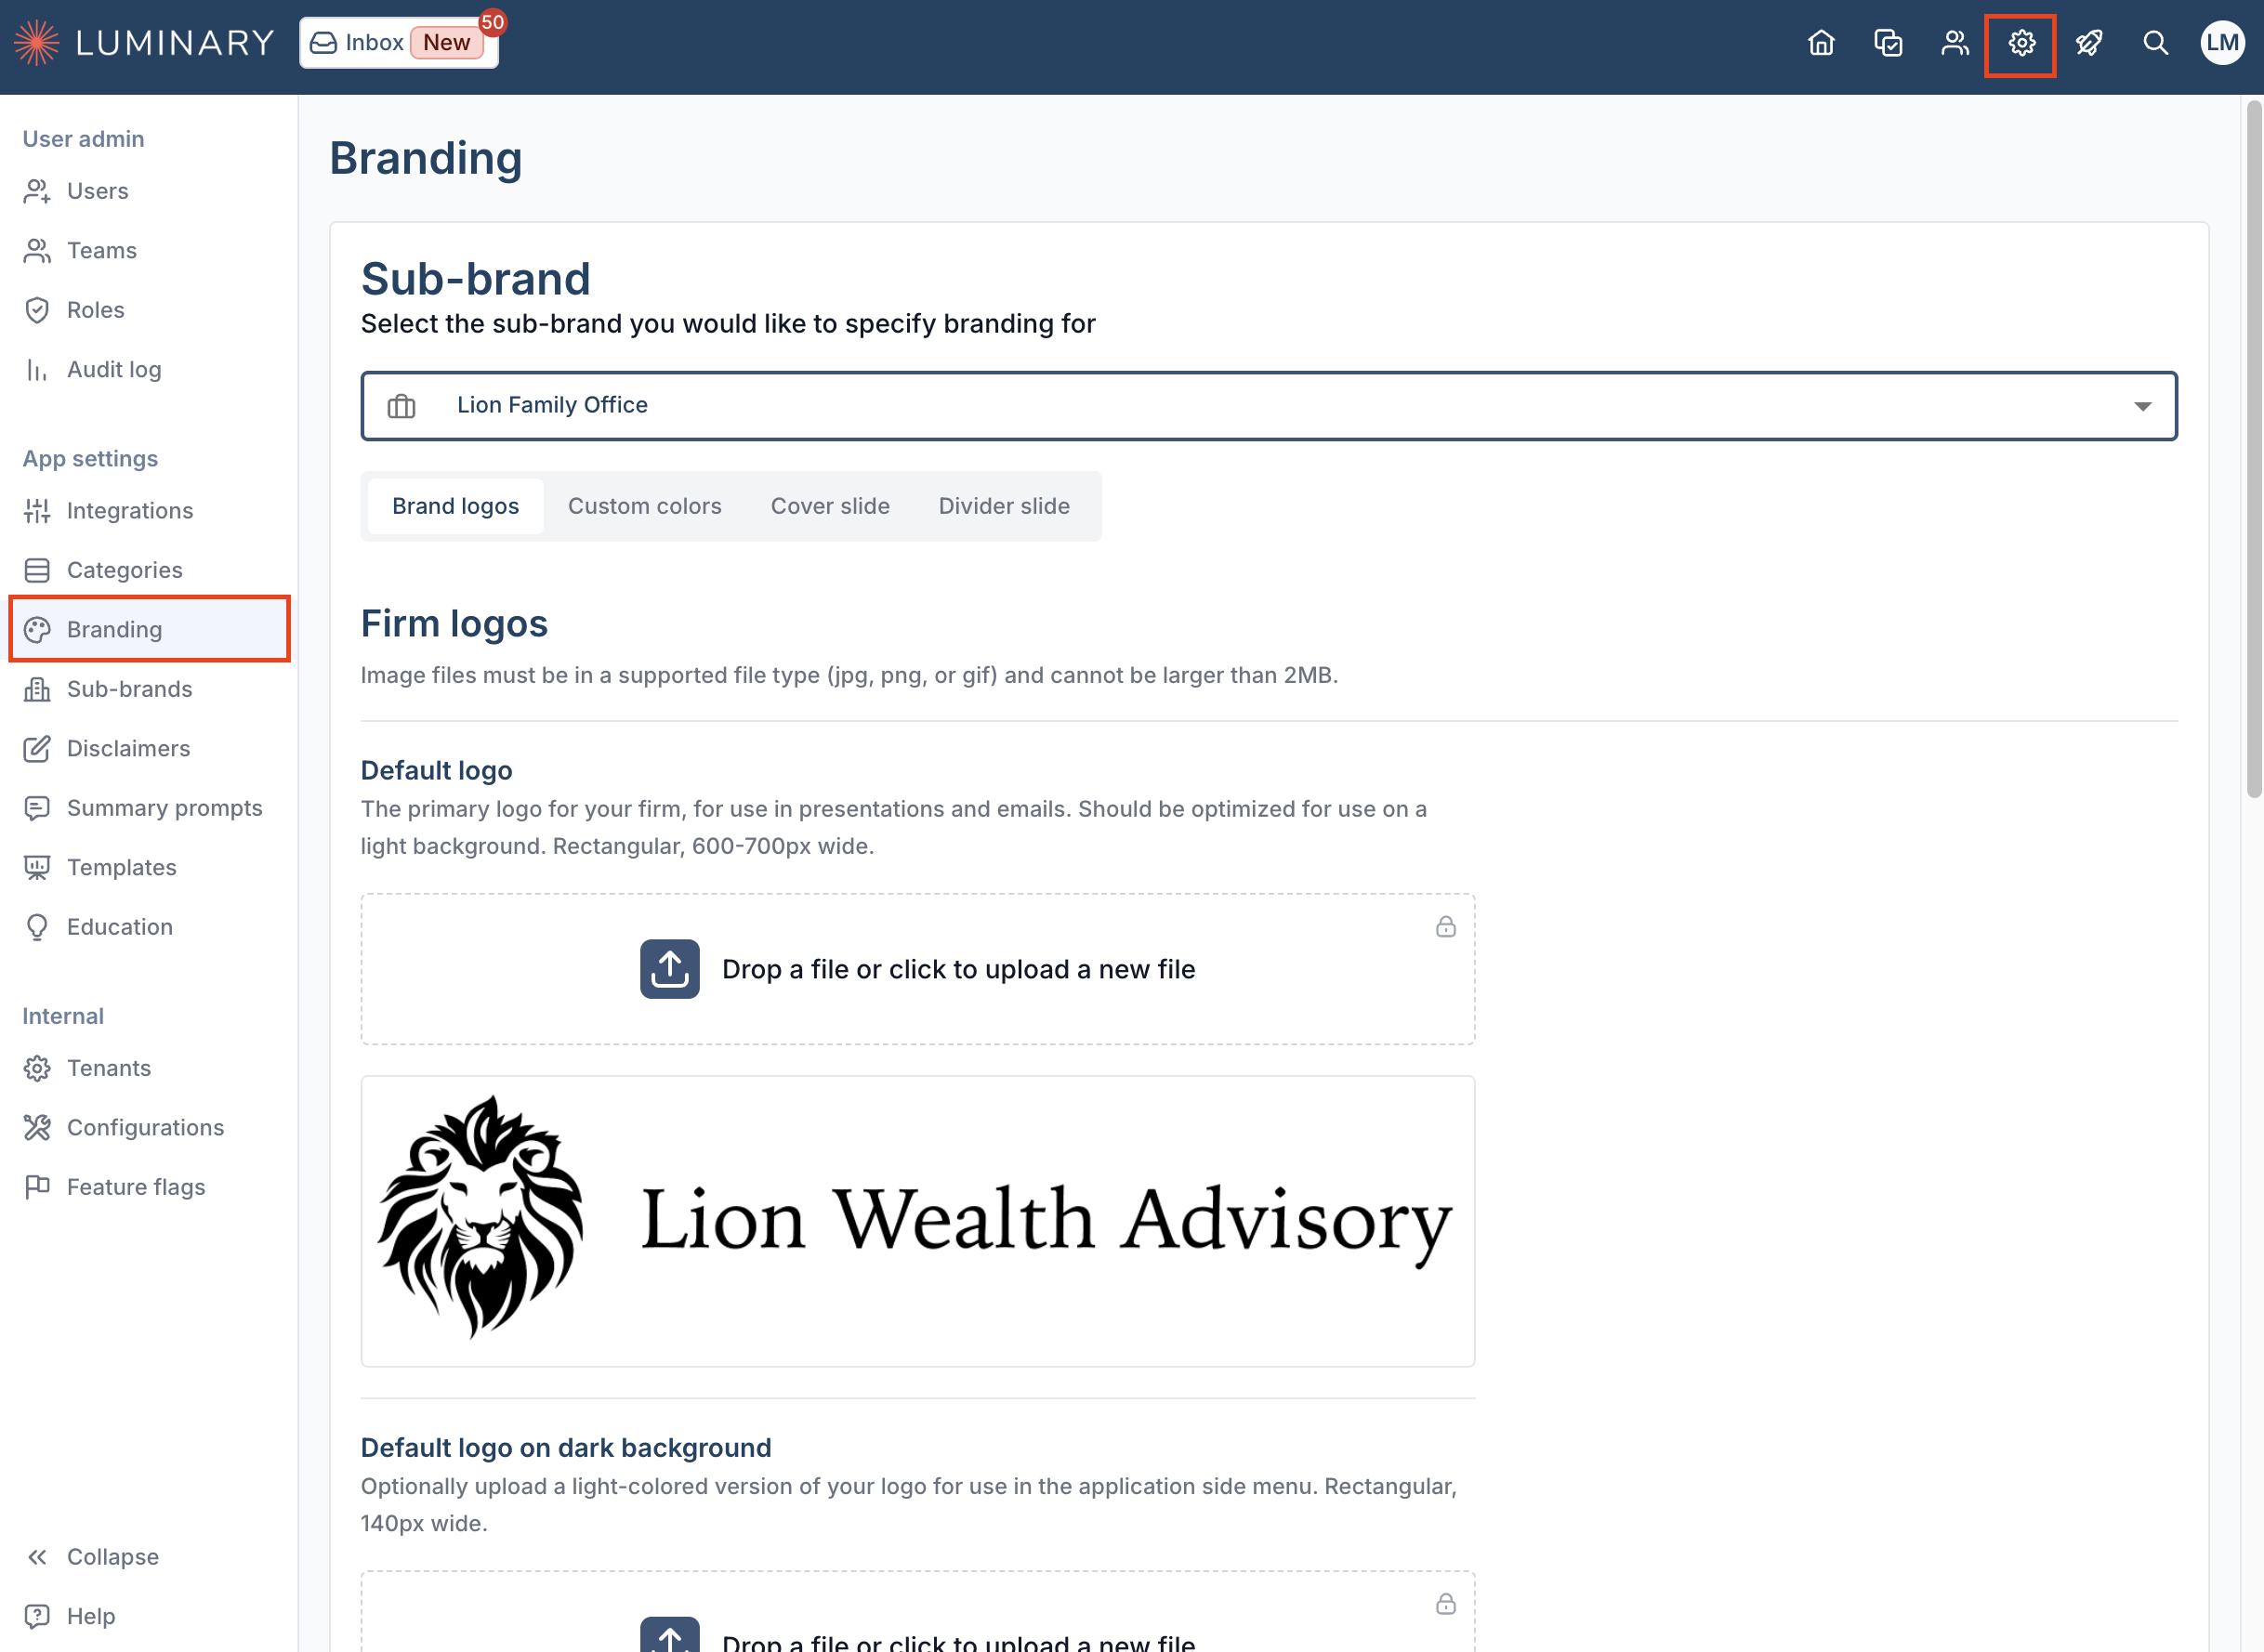
Select a sub-brand from the drop-down, if applicable.
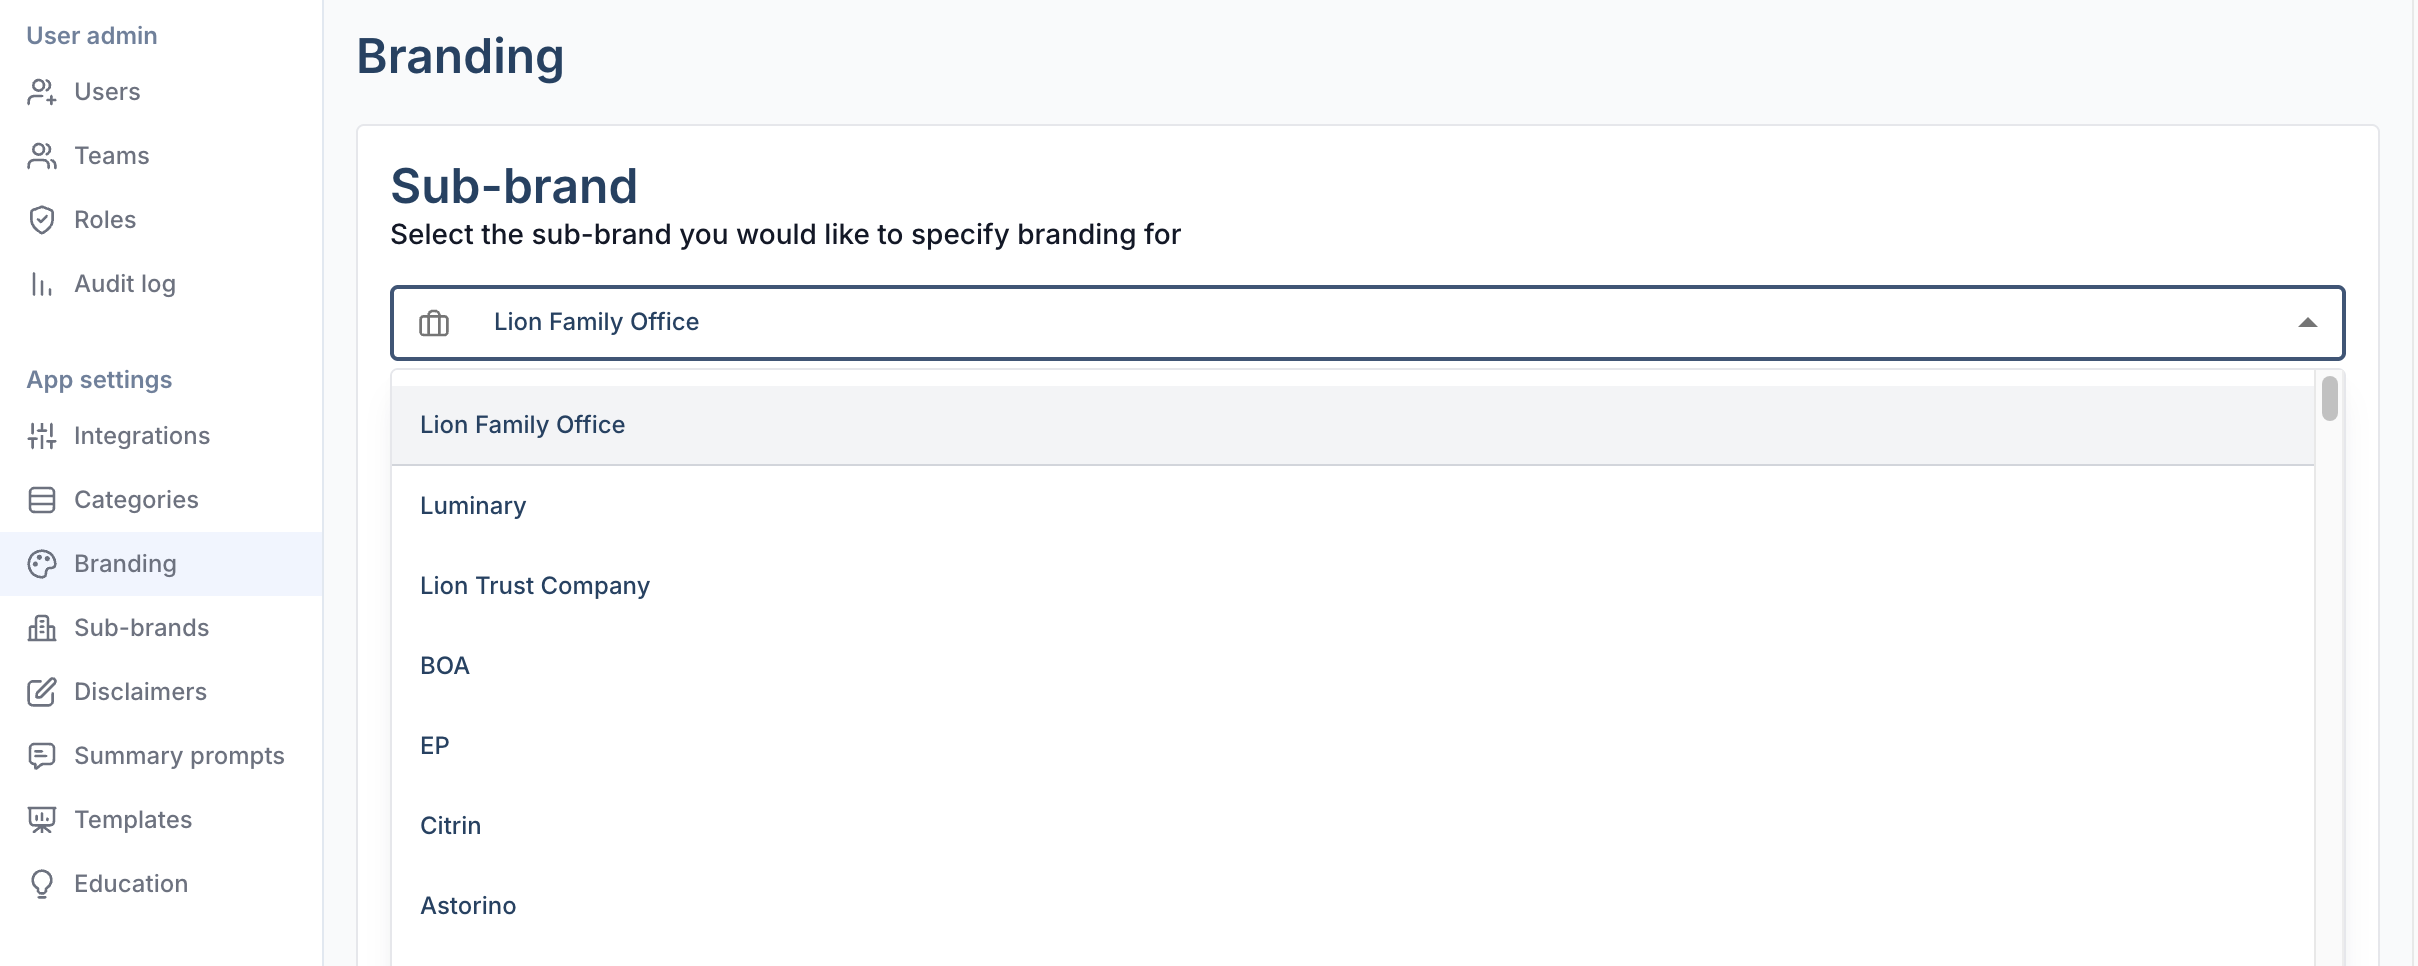
Upload default logos and icons applicable to your firm by dragging and dropping or browsing files.

Custom colors
Update your brand and data visualization colors to align with your firm or sub-brand’s approved branding. Chosen colors will be applied to client-facing diagrams, bar charts, and buttons across the site. Enter colors using HEX codes, and be sure to save your changes before leaving this screen. The Custom Colors page includes a preview of how your selections will appear in presentations.
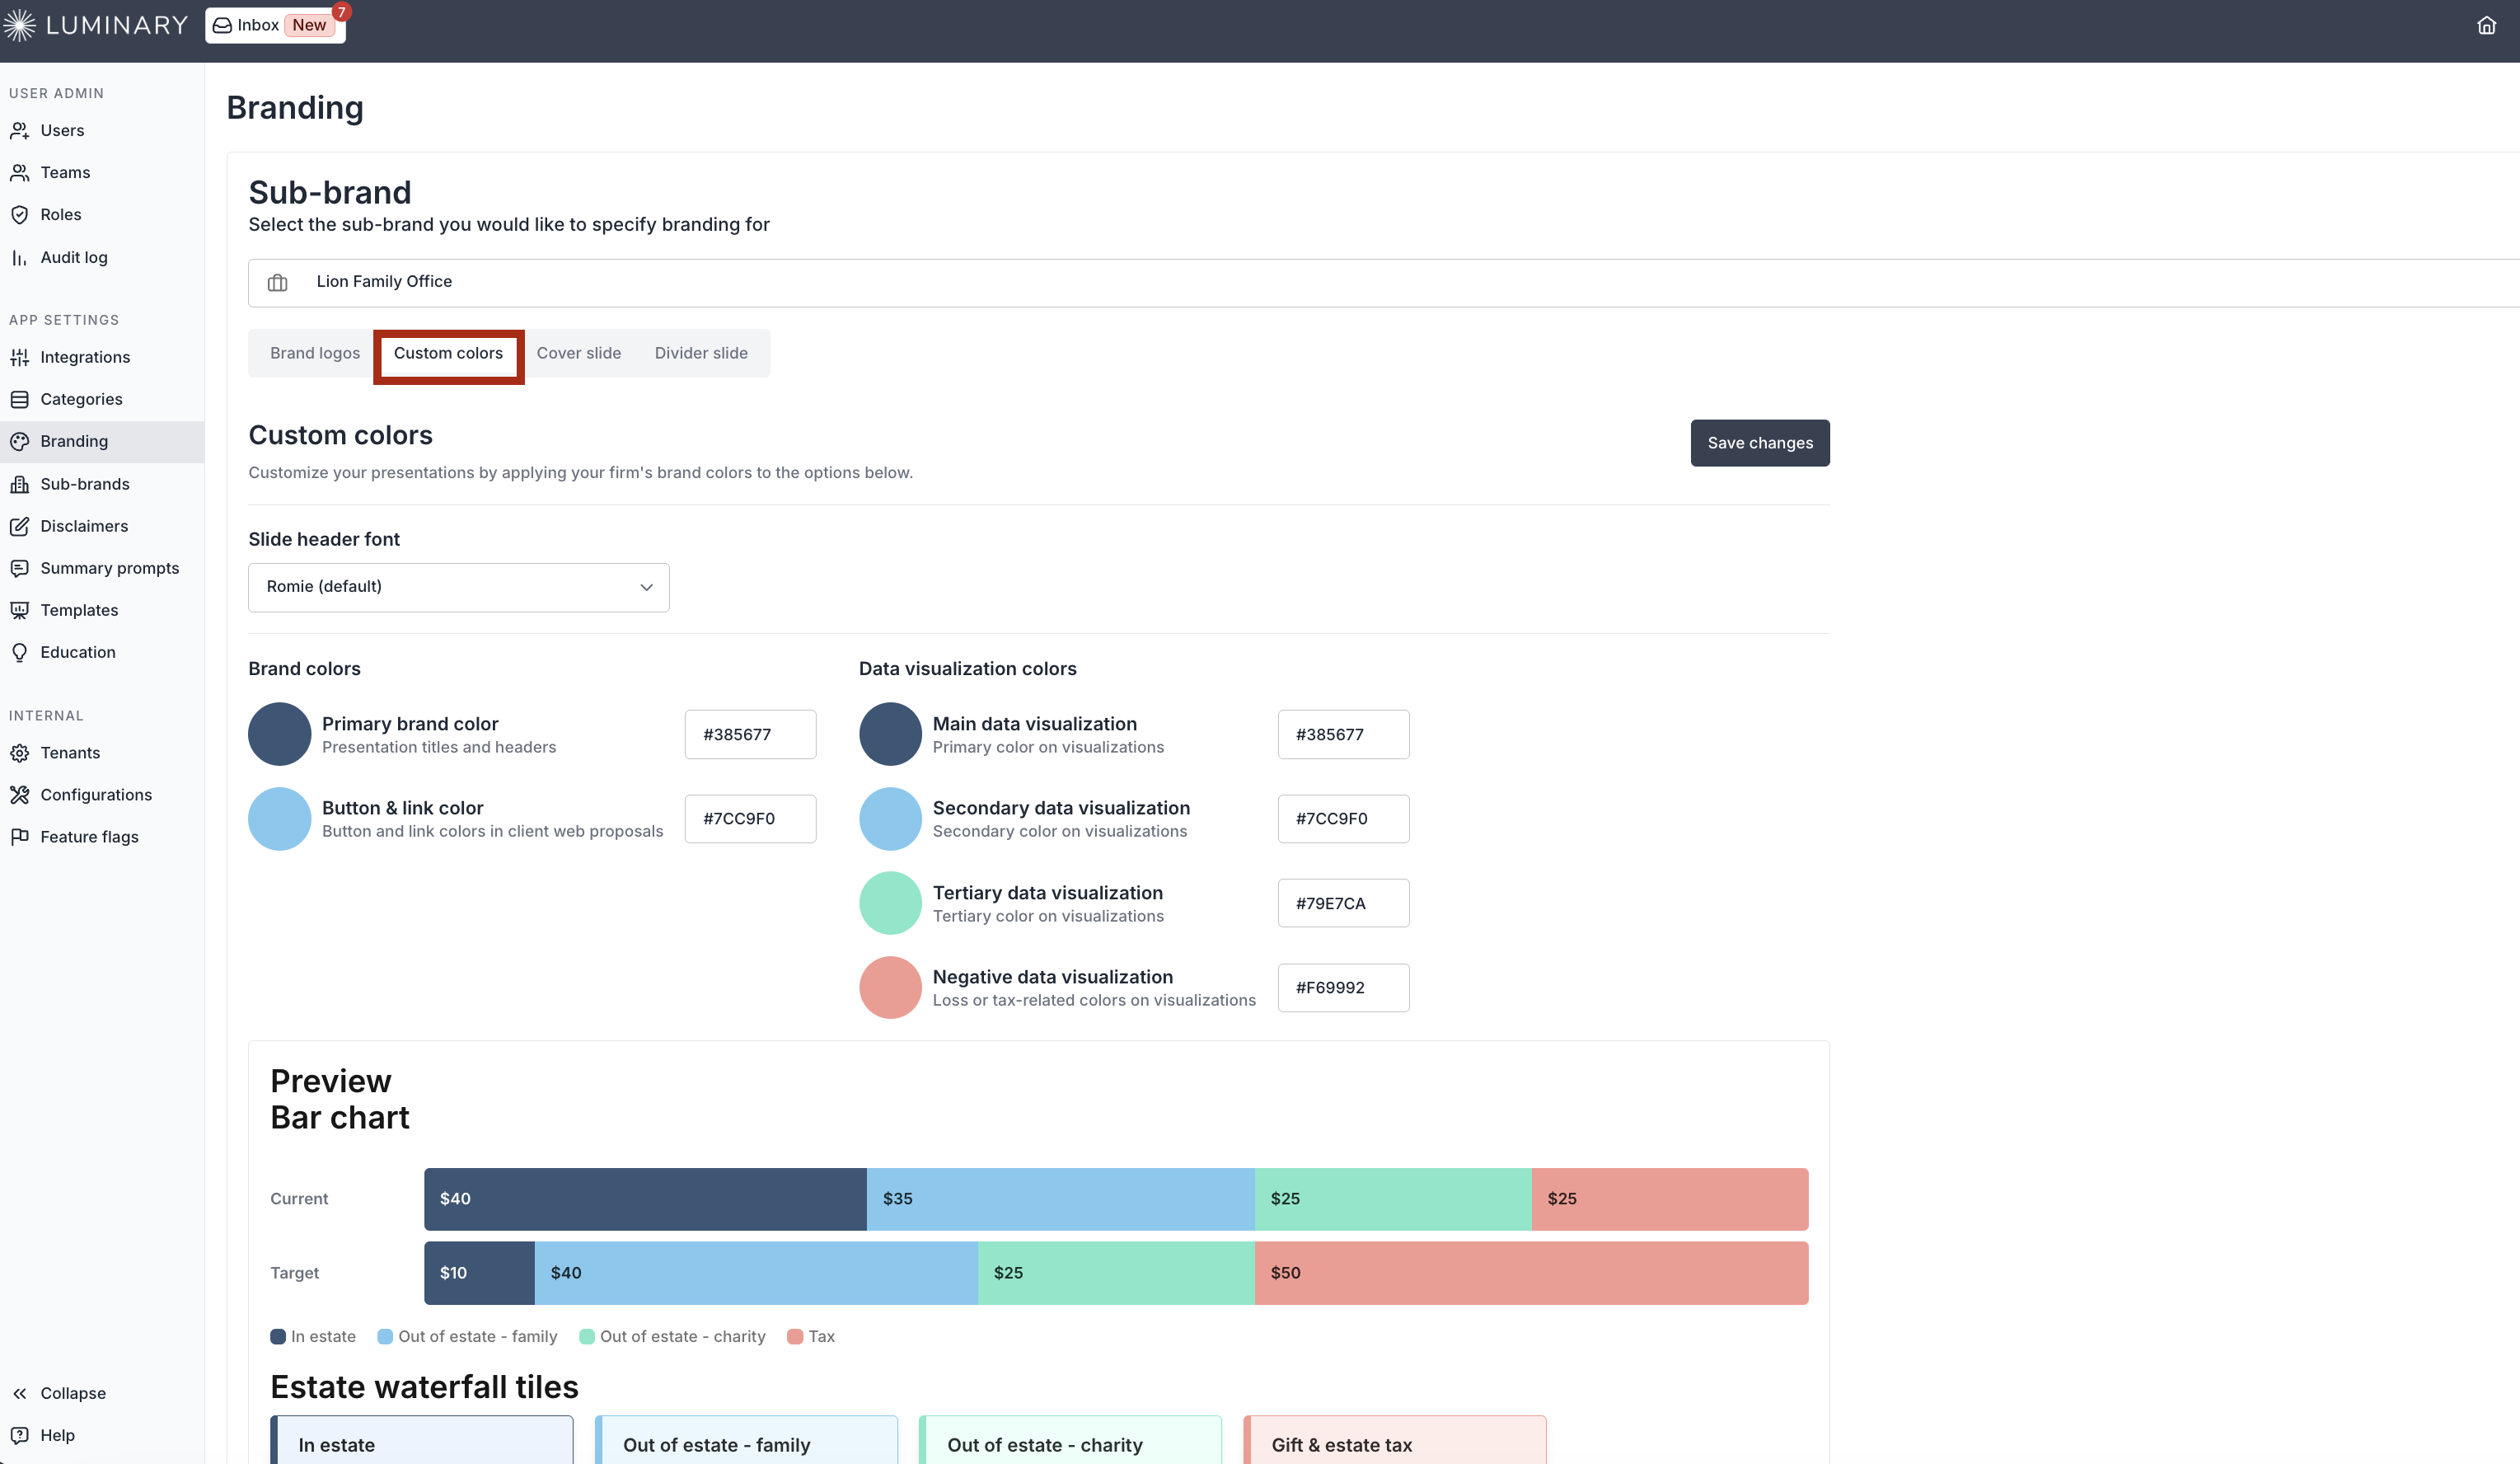
Remember to save your work before leaving the Custom colors tab.
Custom Slide Header Font
Luminary offers two fonts on slide headers: Romie (our default) and Arial. To change slide header font, Choose from the dropdown in the custom colors page.
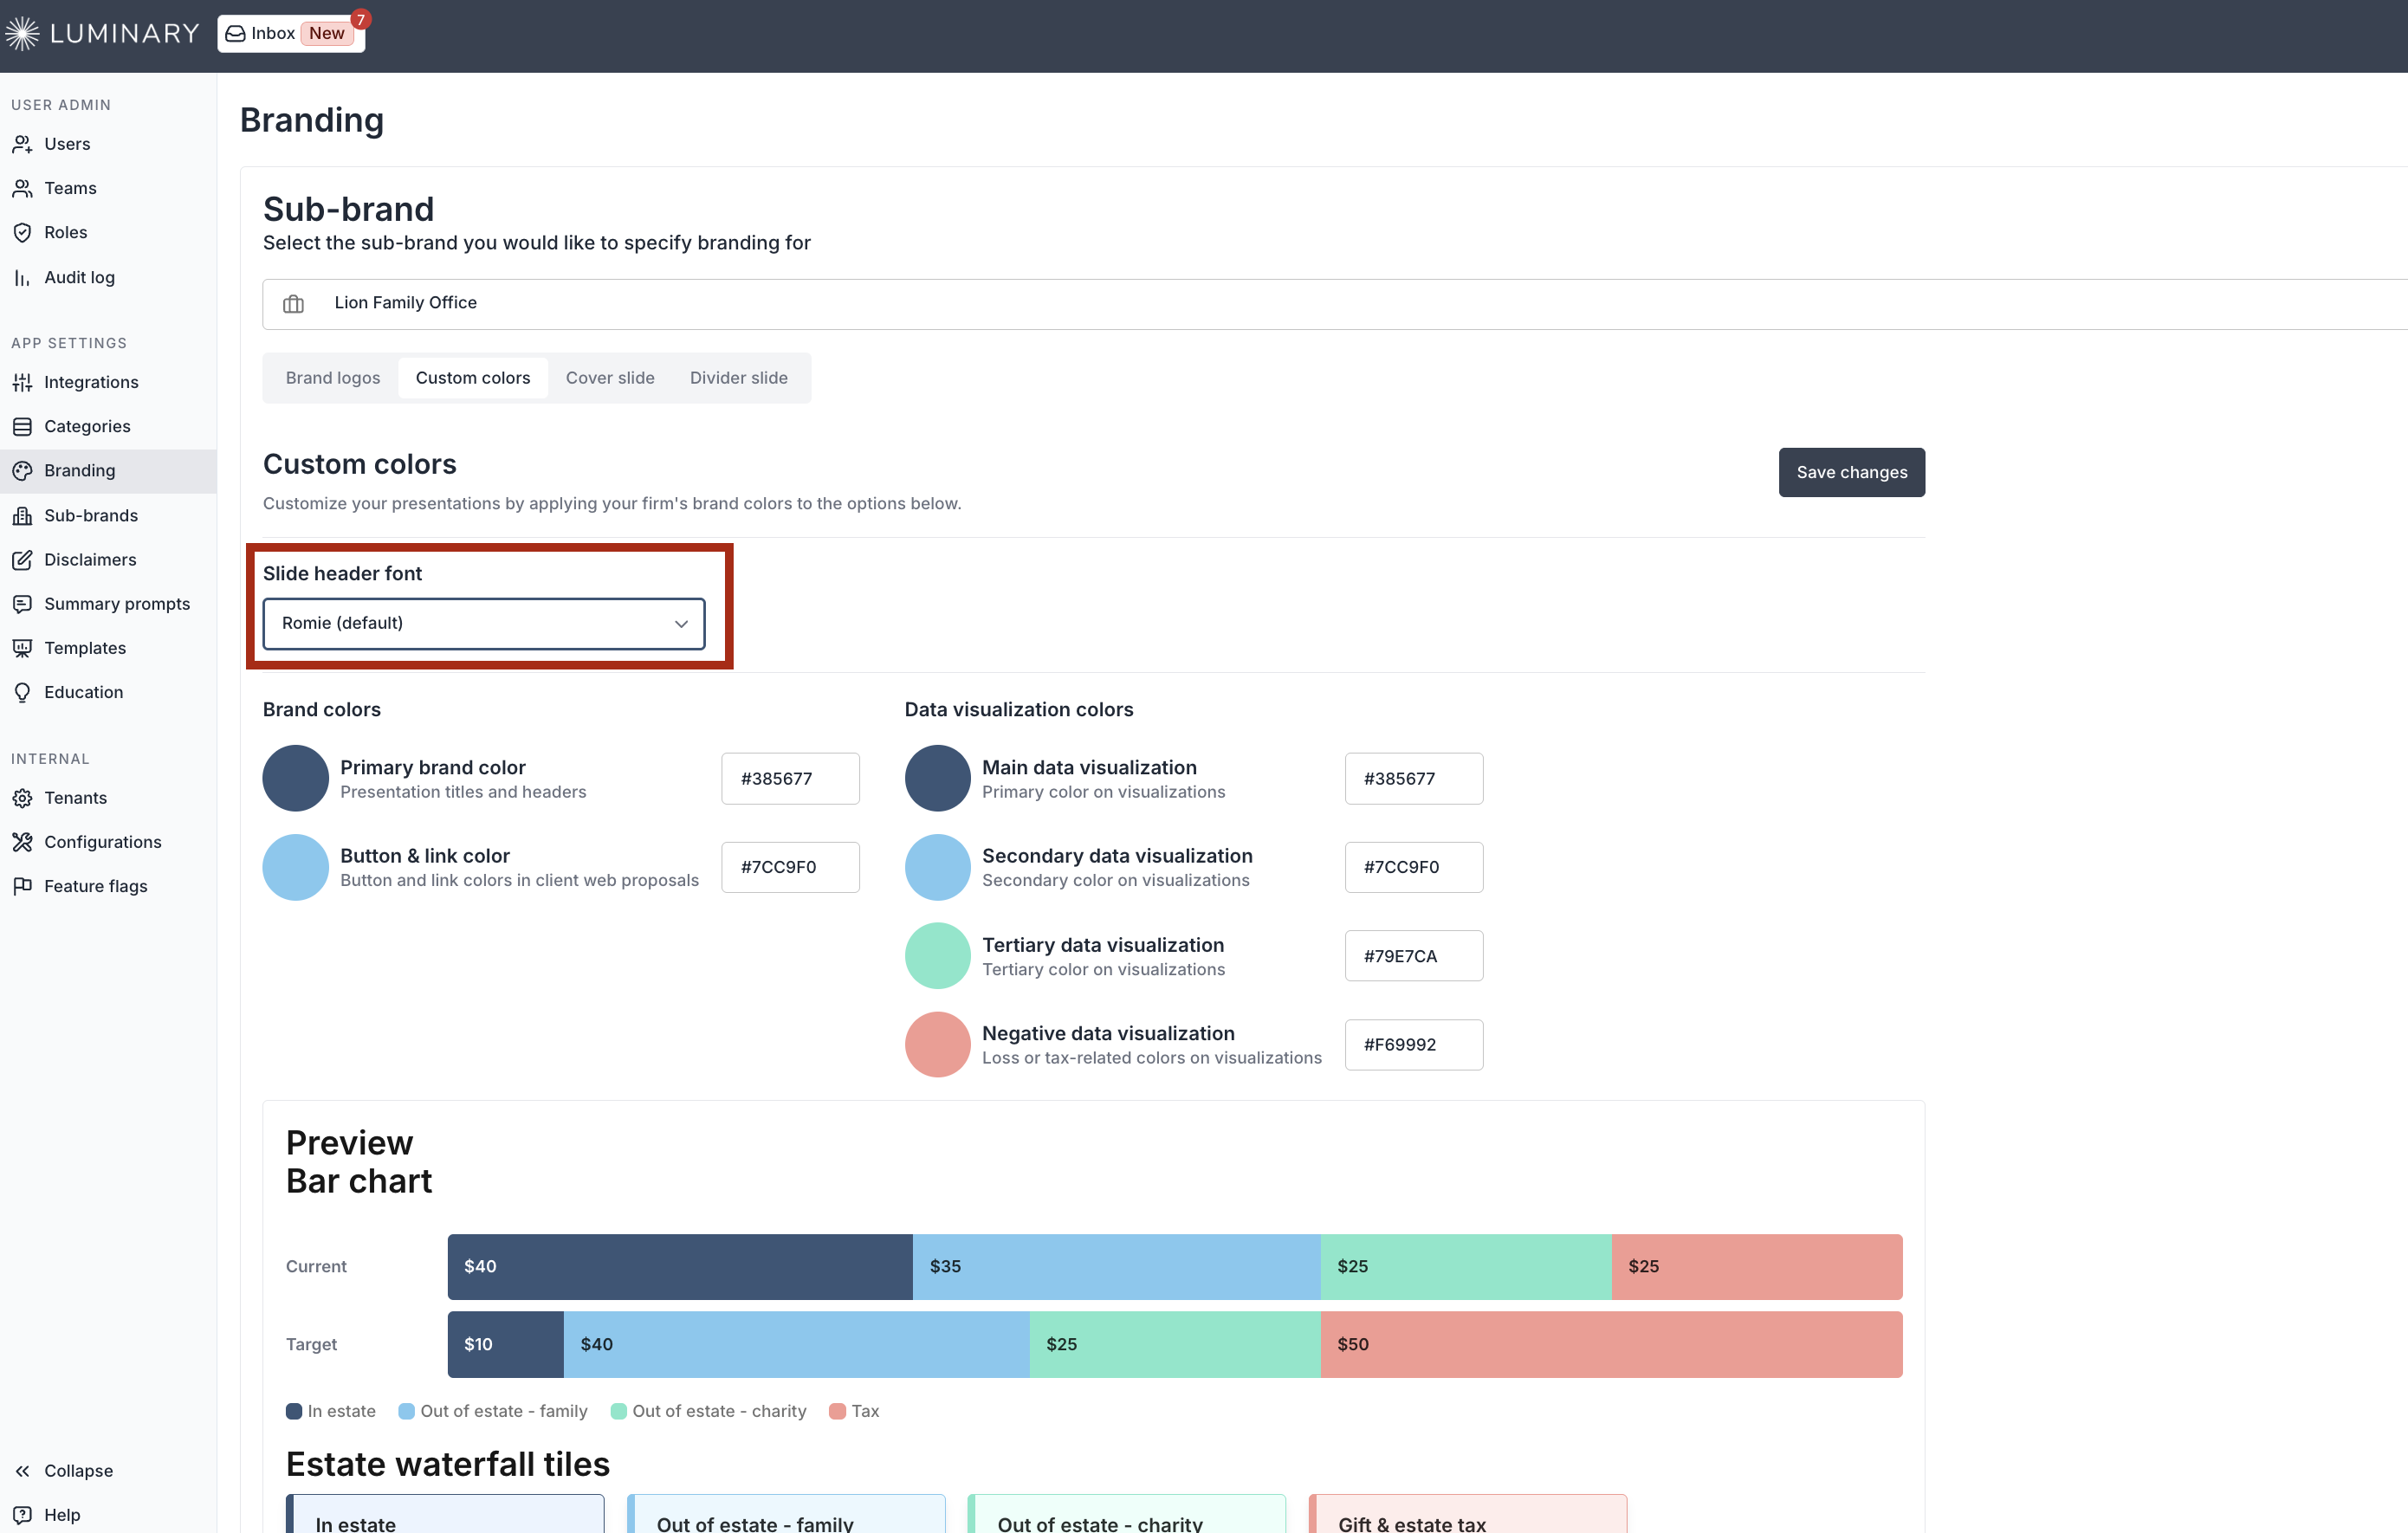
Remember to save your work before leaving this tab.
Cover slide
Luminary presentations have customizable cover slides for any presentation made on the platform. Navigate to our Cover slide page to add custom backgrounds, opacity, colors, change font size, logo size or logo position.
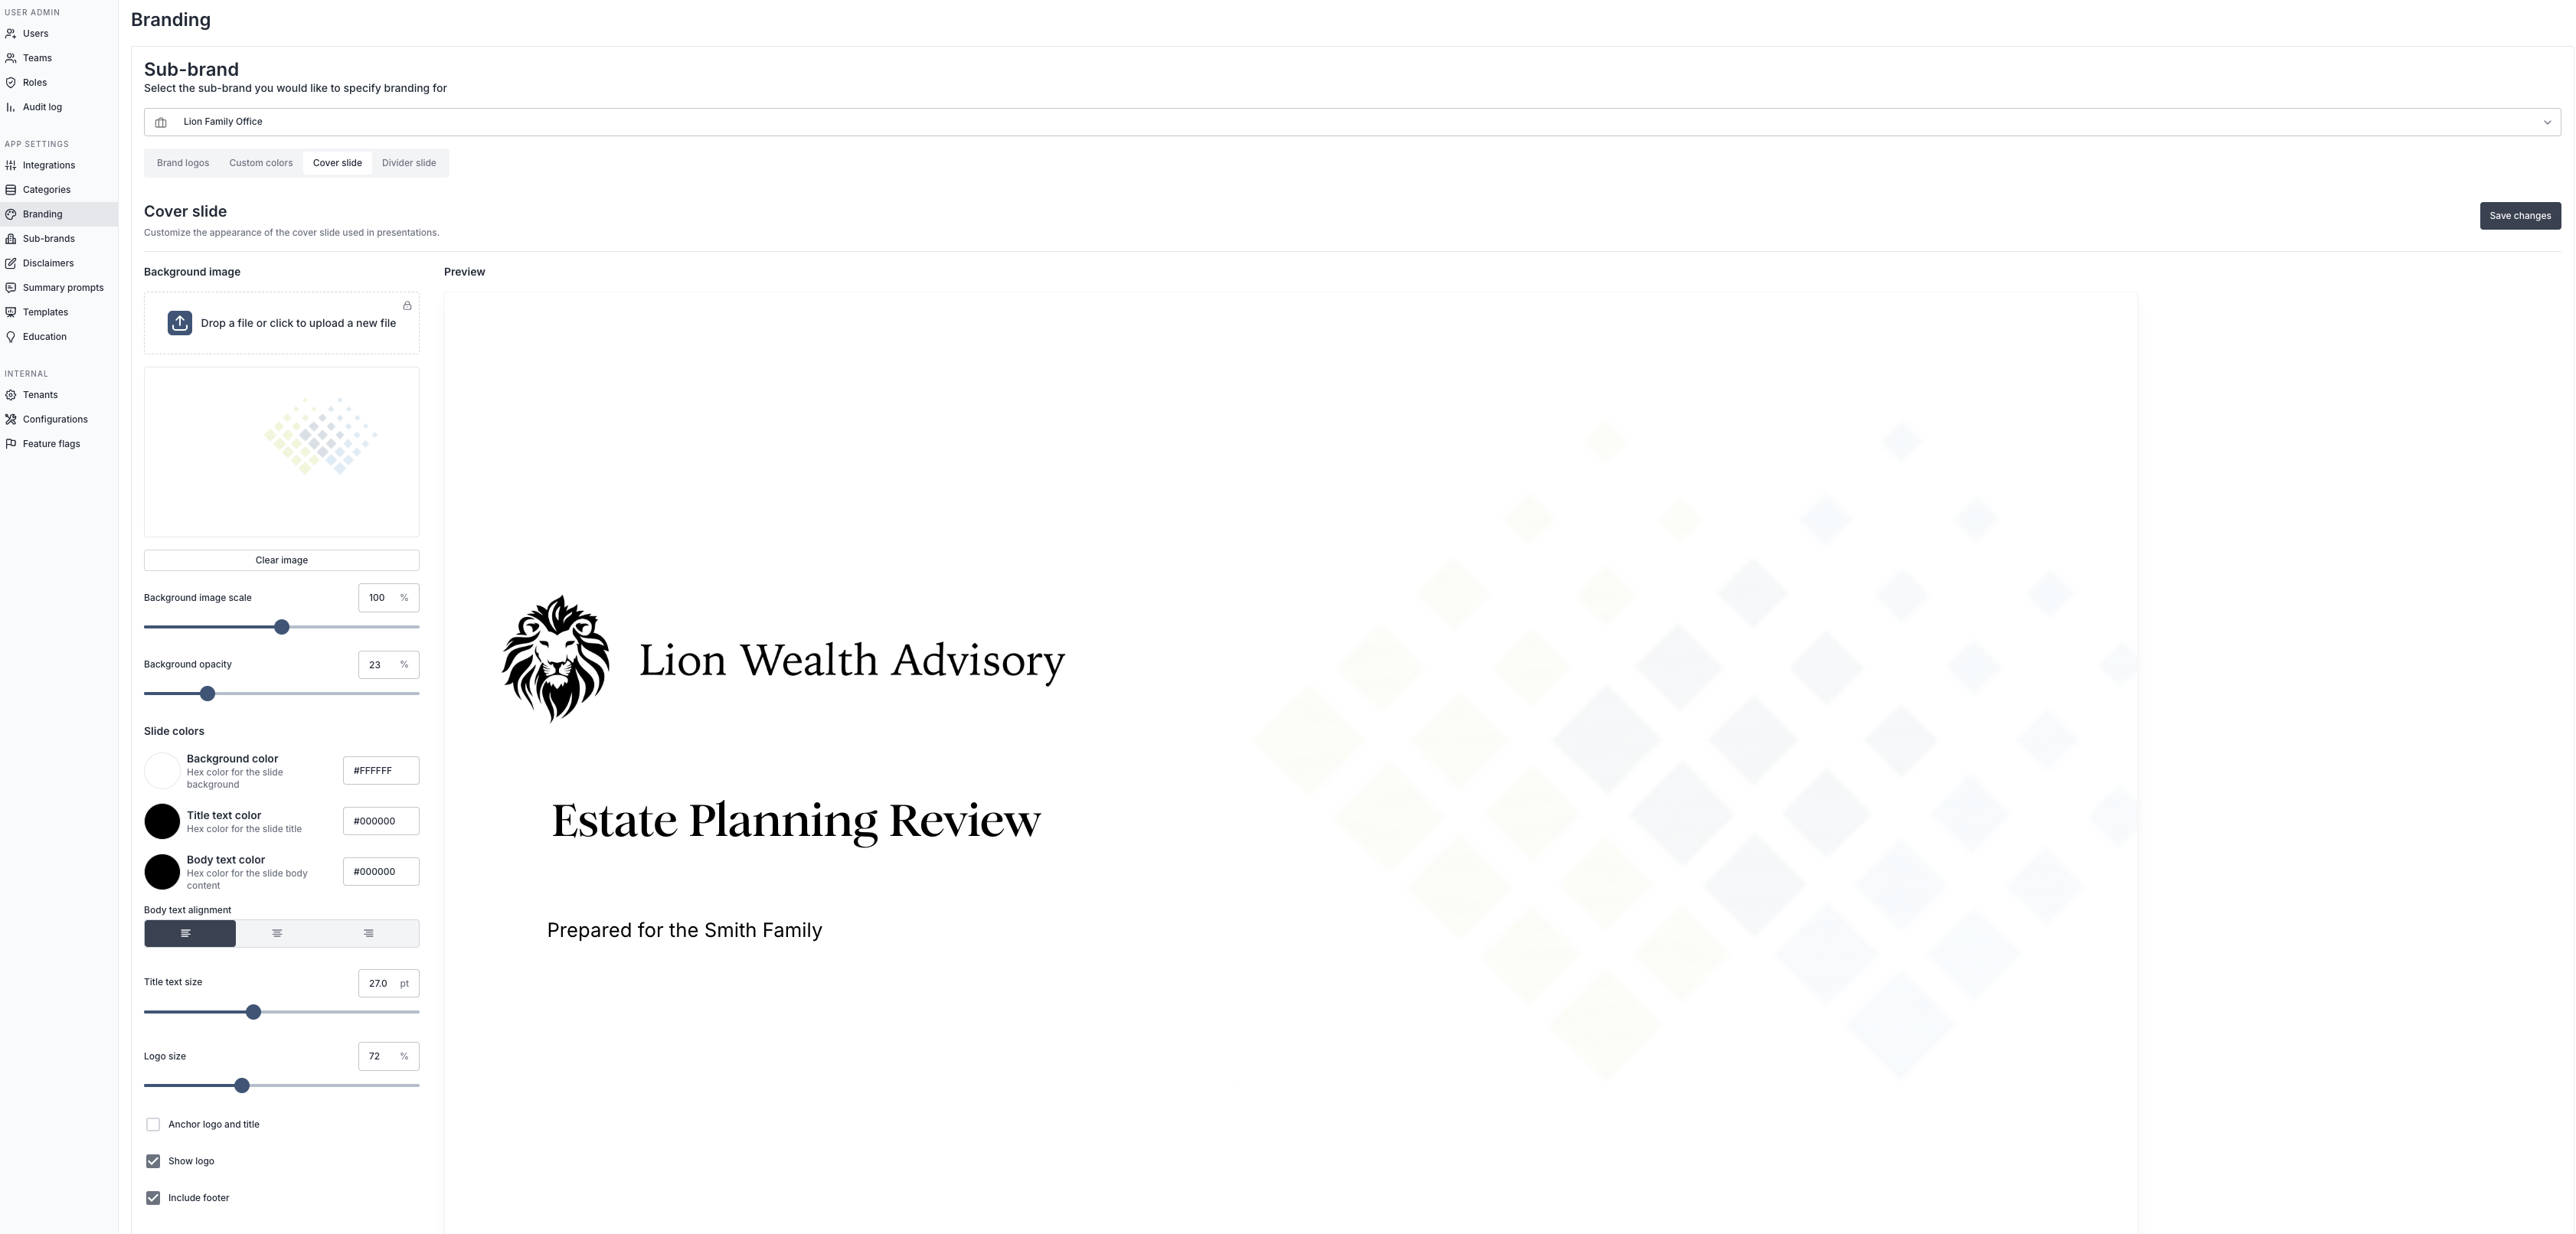
Custom features on presentations:
Background image: Drag and drop or search for a background image to set as your cover slide in presentations.
Solid background color: Use HEX color codes to set a solid background color for your cover slide.
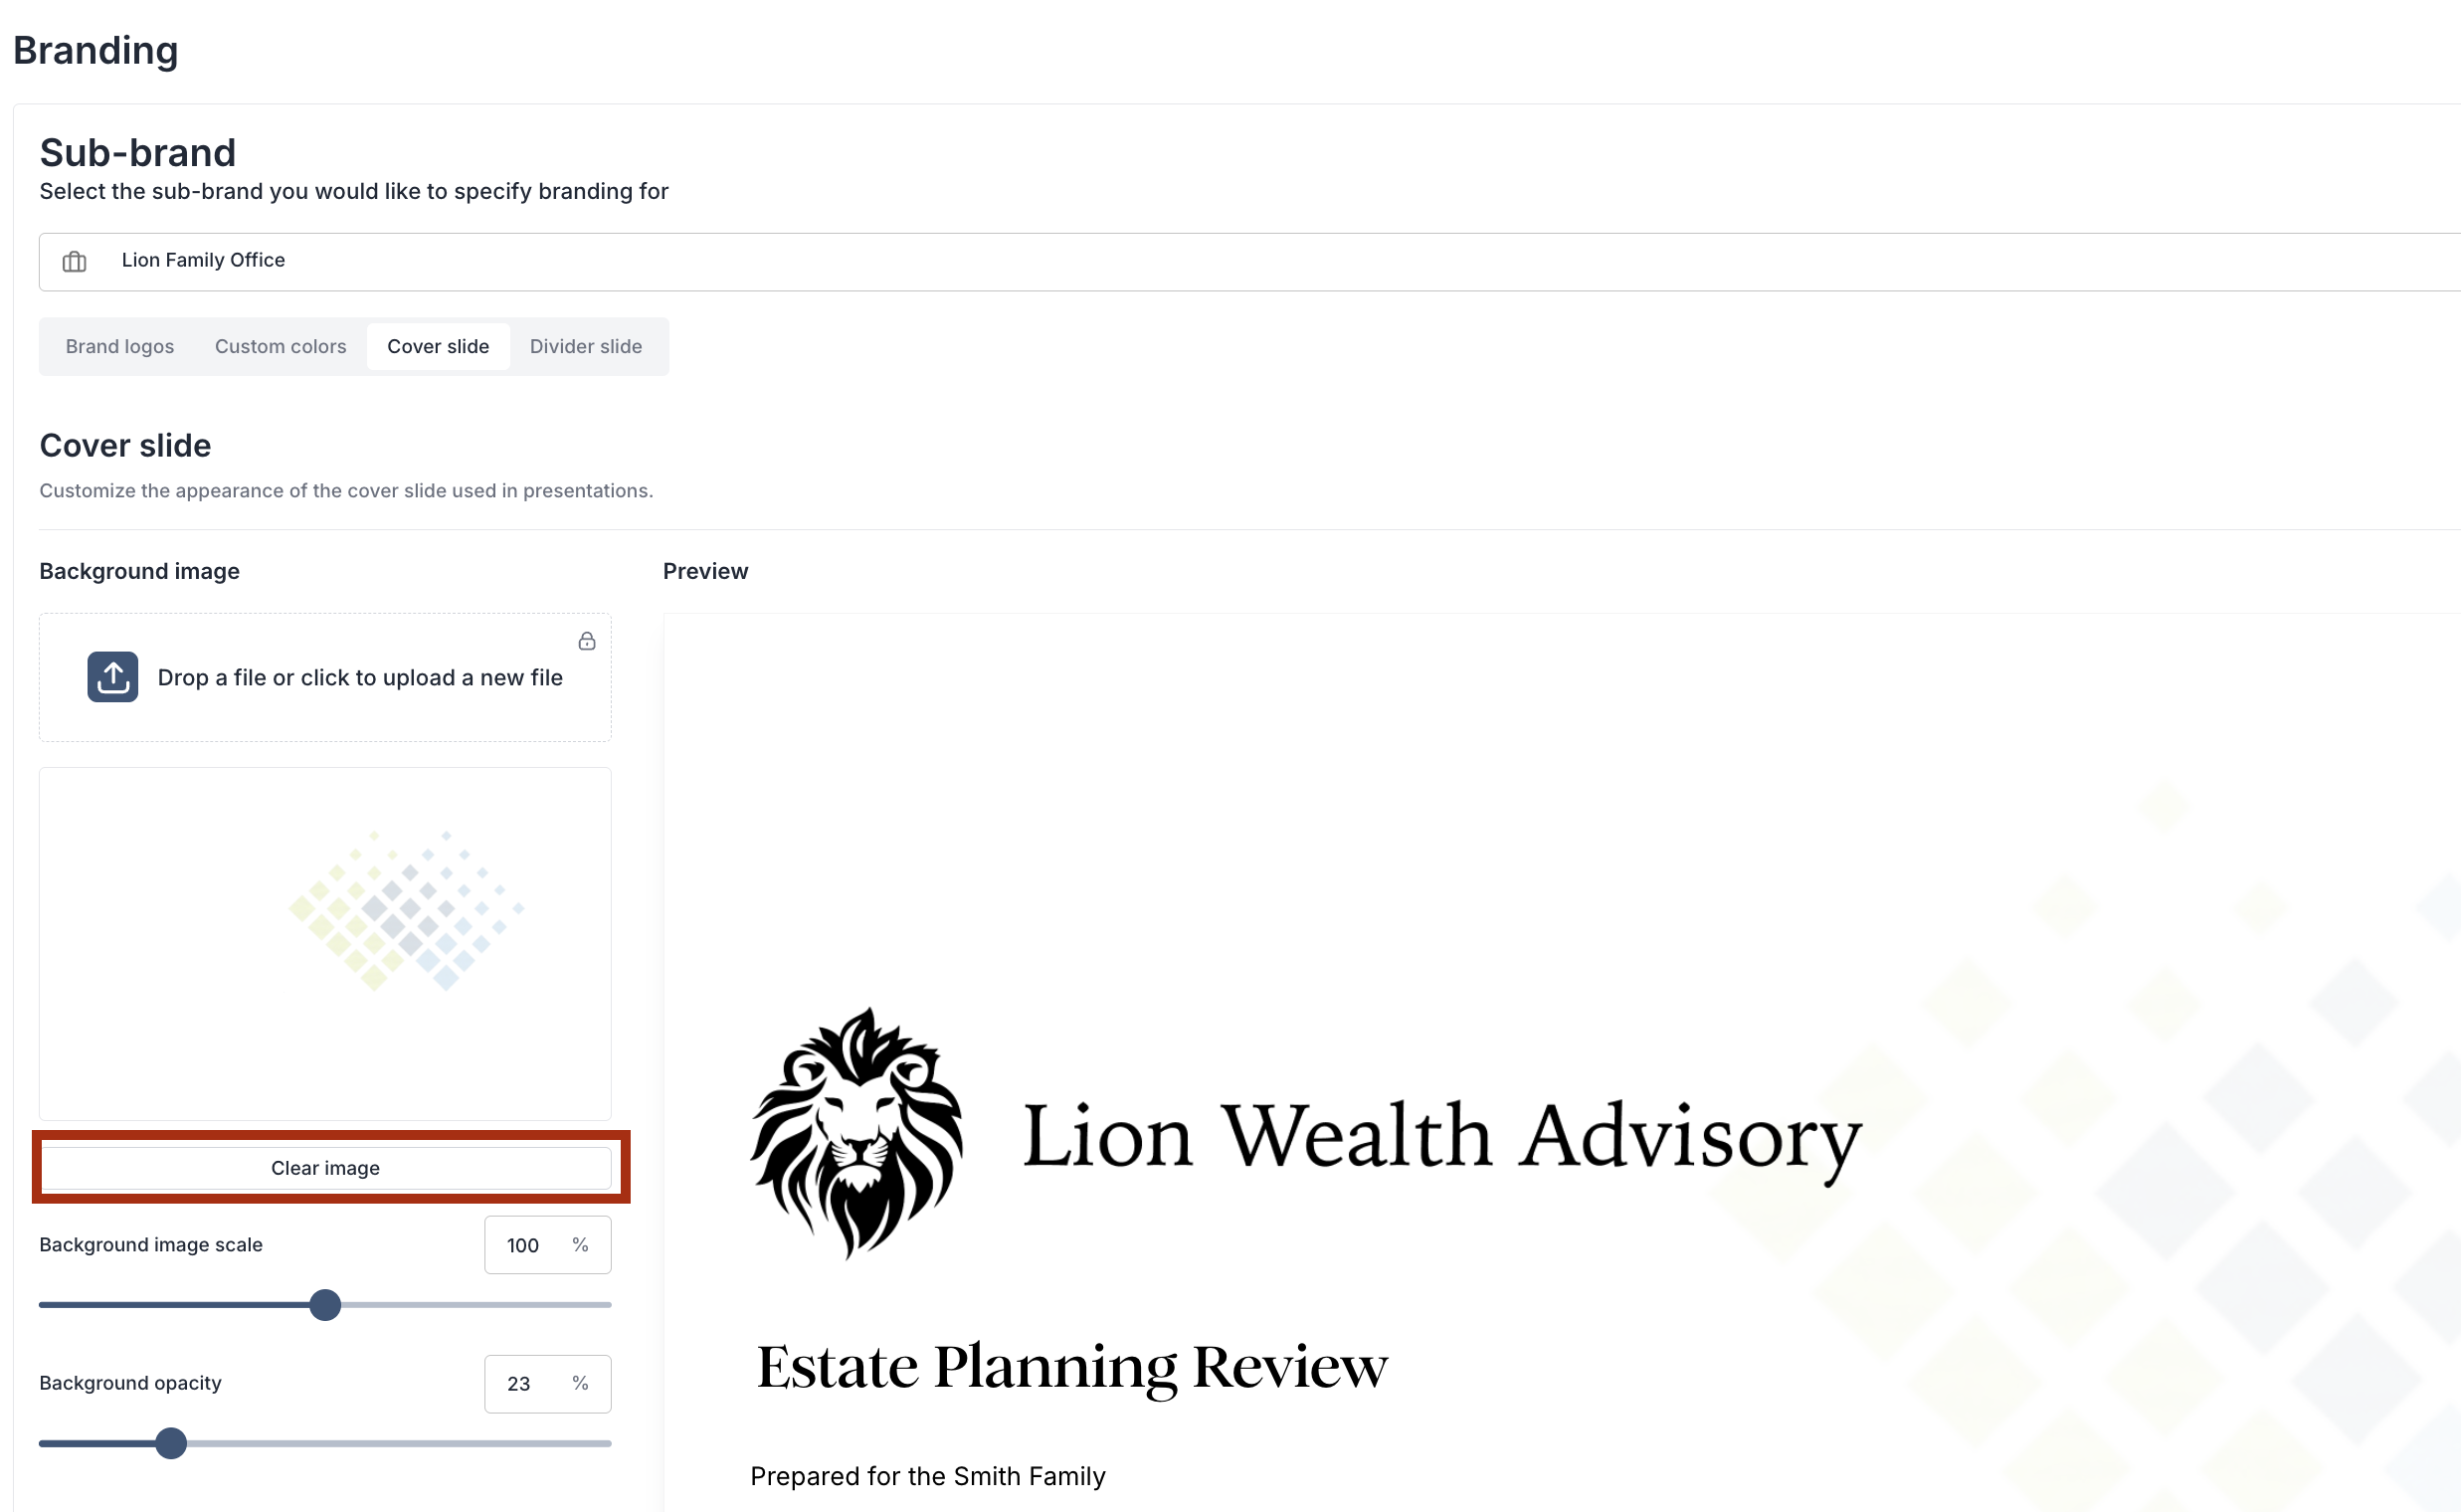
Please note: Remove any background image prior to setting a solid background color. To remove the background image, click Clear image.
Title and body text color: Use HEX color codes to set colors for title and body text overlaid on your background image or color.
Background opacity: set a background opacity between 1-100 to manage the background image contrast.
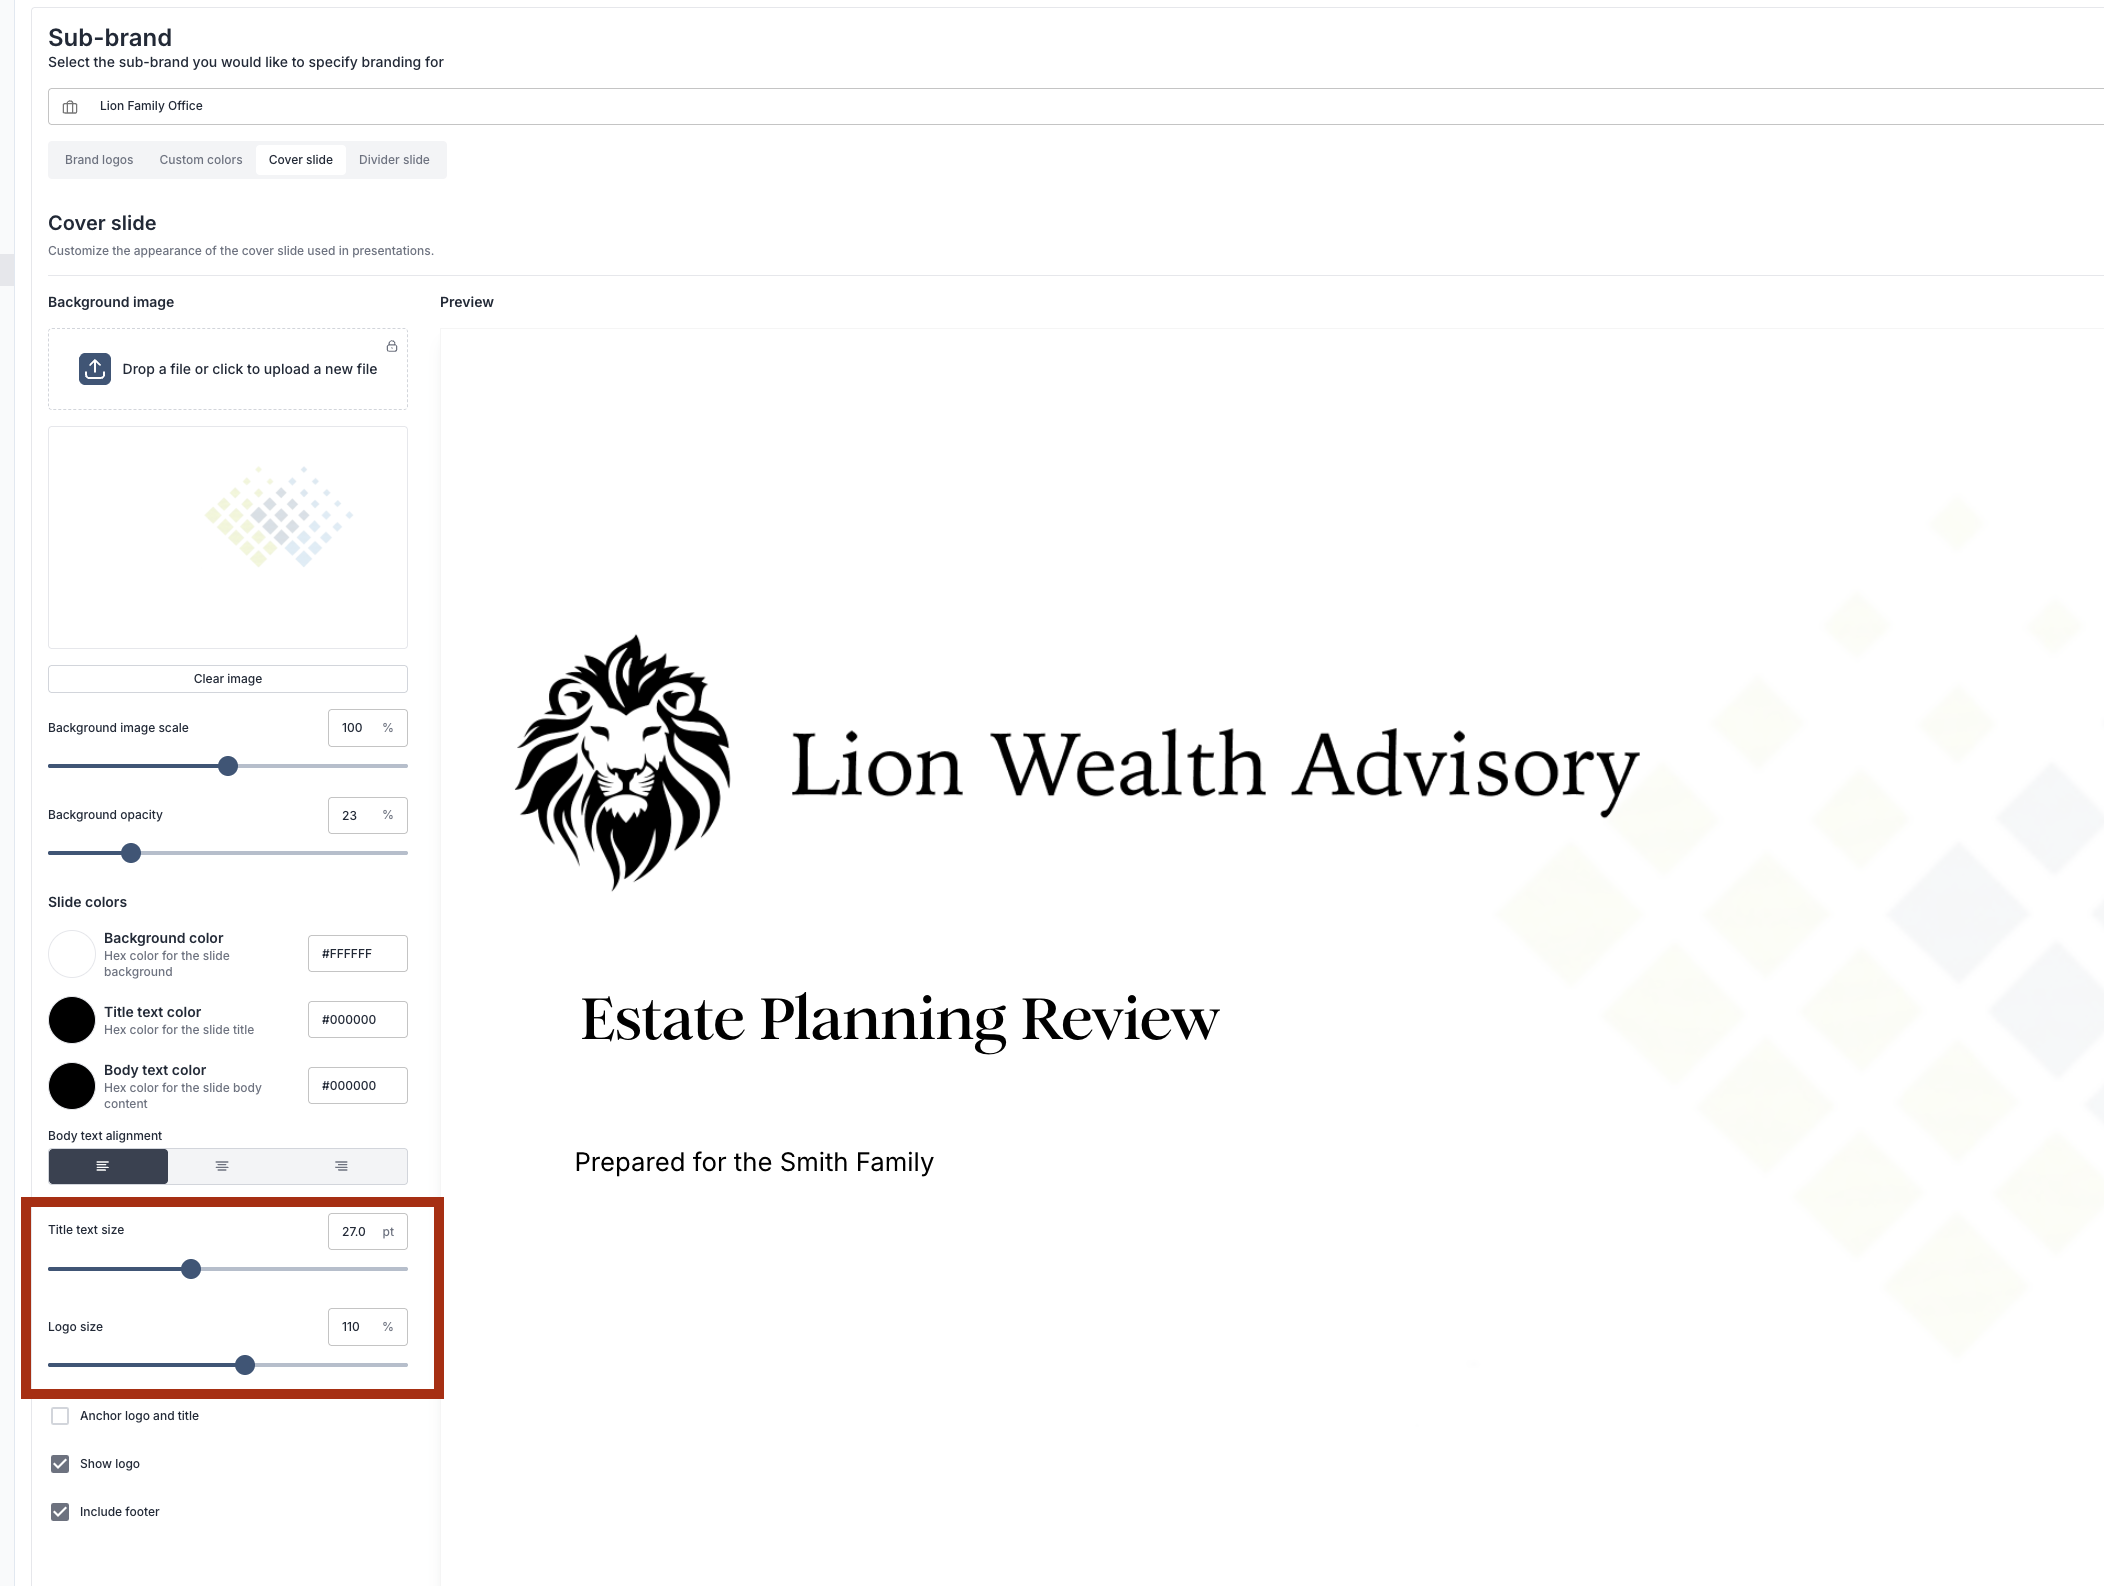
Title size: Change the title text size by dragging the scale marker right or left to increase or decrease size
Logo size and position: Select your logo size and position on the cover slide.
Show logo: Show or hide the logo on the cover slide by checking the Show Logo box
Anchor Logo: Adjoin your logo and title boxes to limit customization for all users by anchoring its location. Note: Anchoring the logo and title will bring boxes together, but you can still move them around the page jointly.
Include footer: the footer will include your default logo and footer disclosures, found on the Disclaimers tab within admin settings.
Remember to save your work before leaving the Cover slide screen.
Divider slide
Divider slides in presentations are customizable, or can be matched to your presentation's cover slide. Admins can review the customization options below to update divider slides.
Set custom divider slides for every internal division by selecting the applicable sub-brand from the drop-down menu
To match divider slides to cover slides in presentations, click Use all selections from cover slide. De-selecting Use all selections from cover slide allows you to edit divider slide details similar to cover slides.
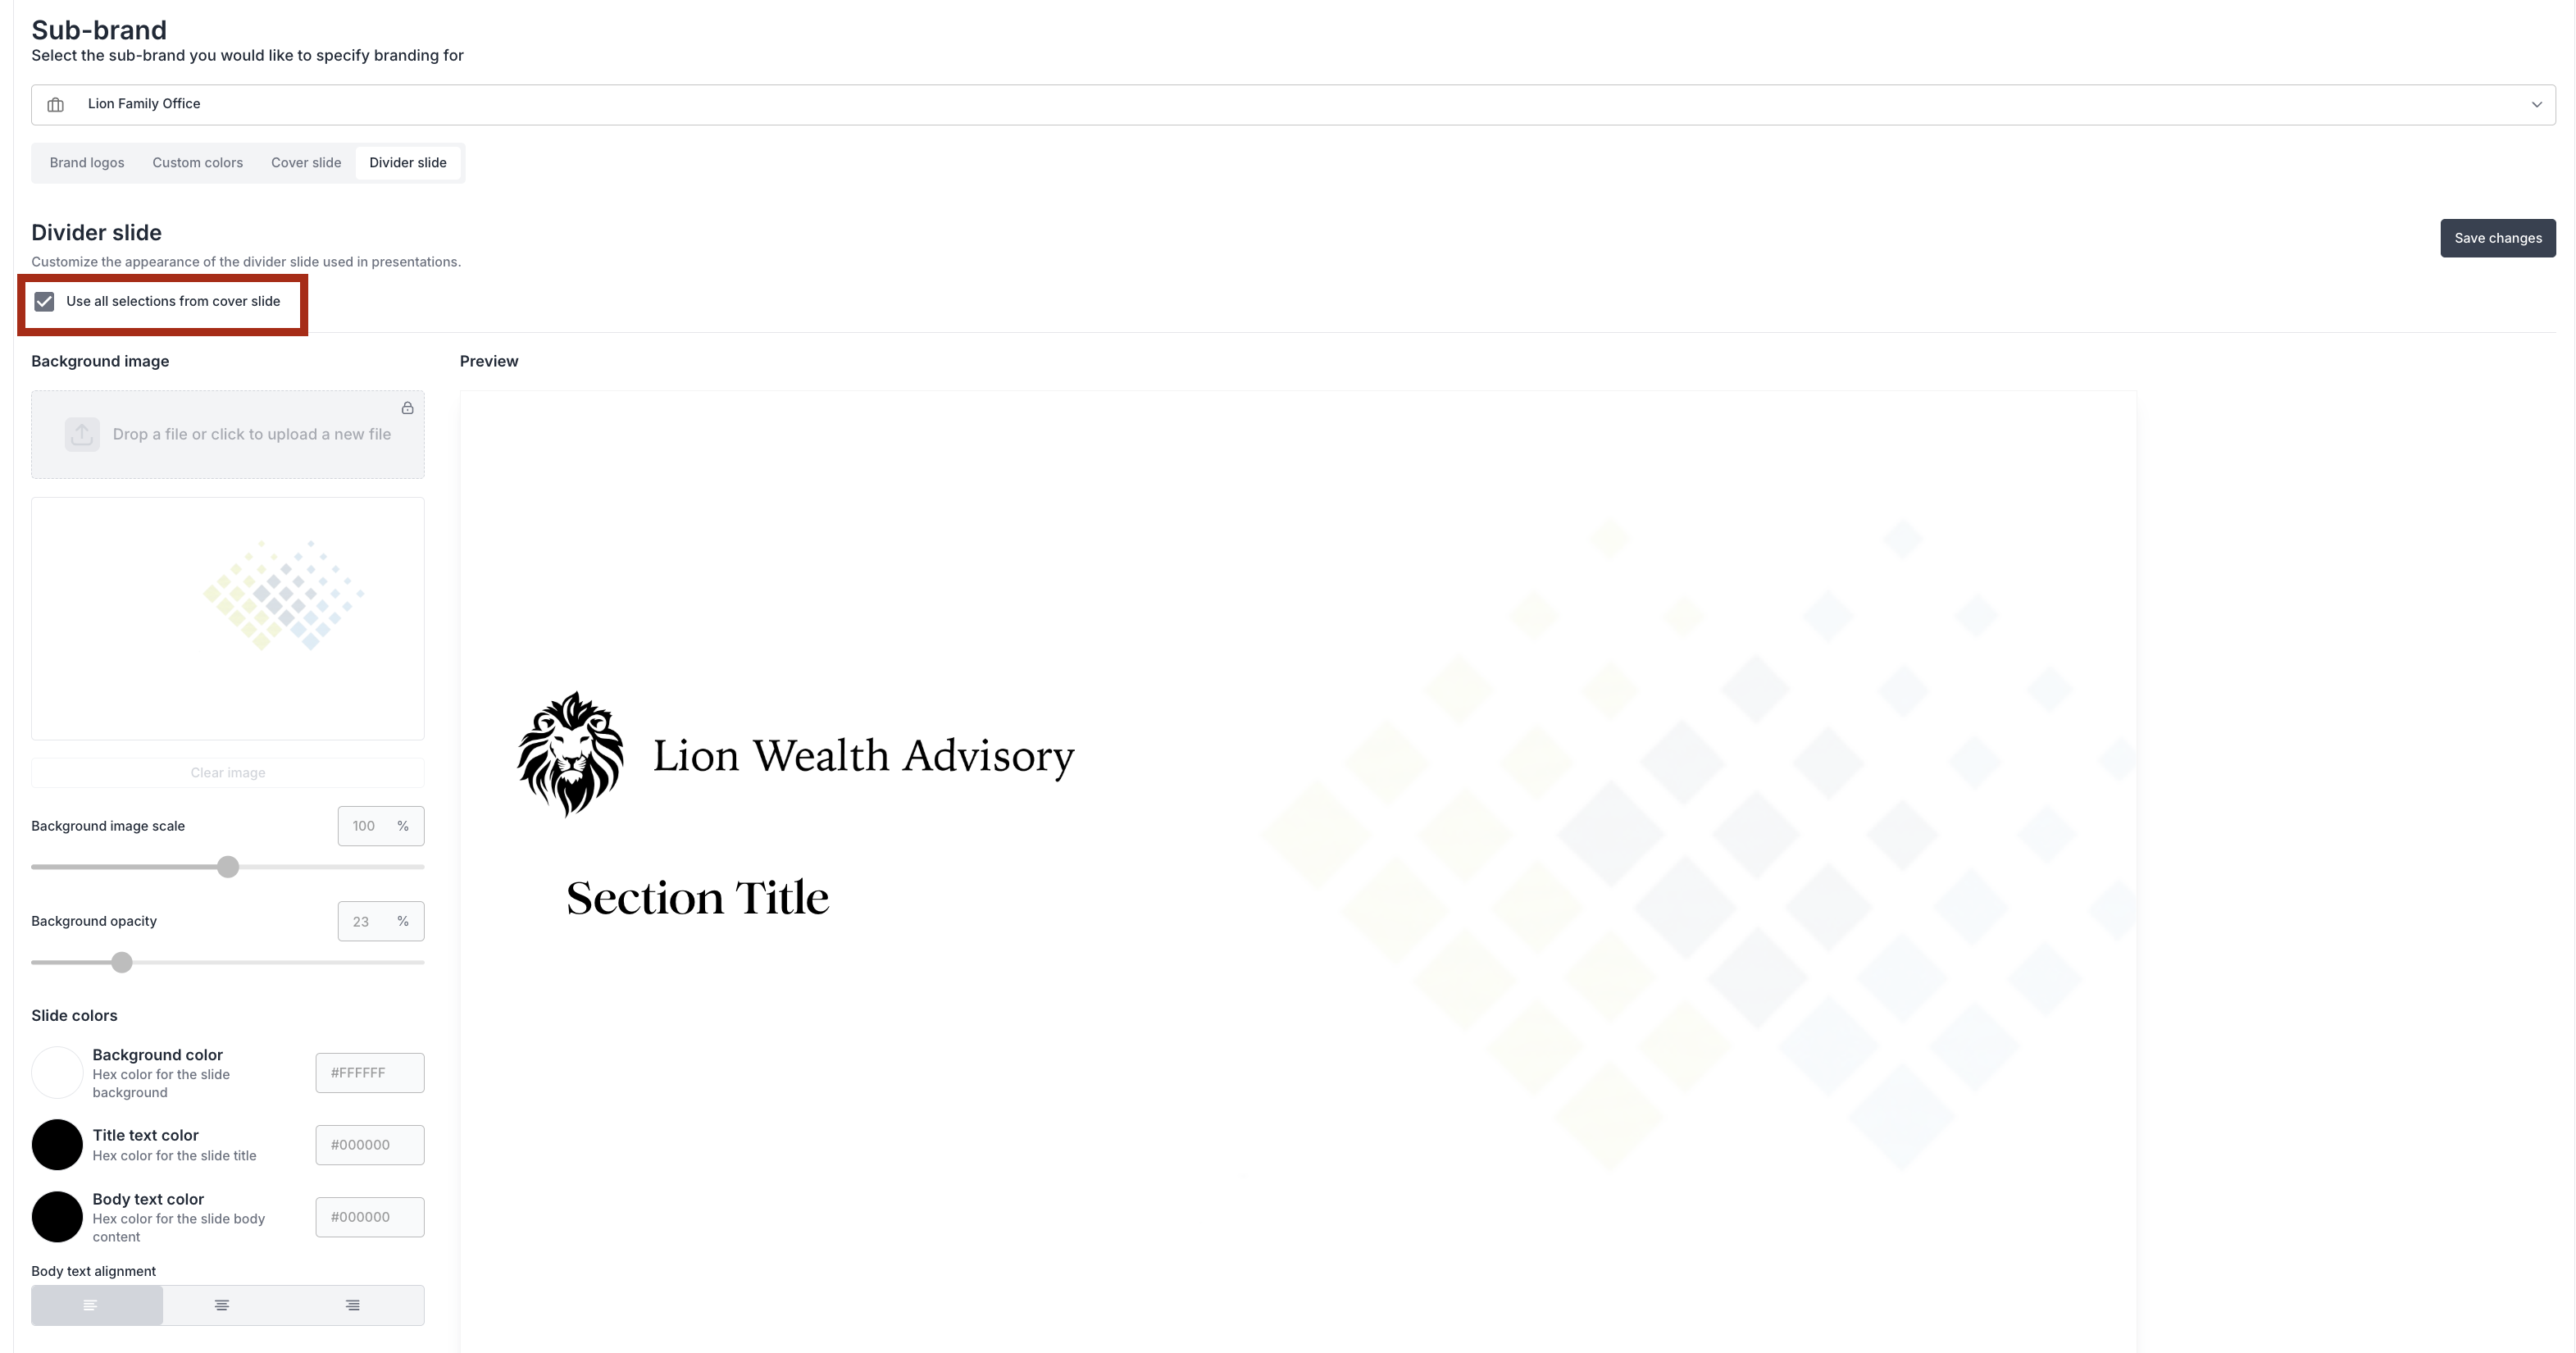
Remember to save your work before leaving the Divider slide screen.
In Presentation mode, divider slides still have some customization capabilities