Create and Edit Your Own Education Materials
Last updated: March 27, 2026
Match your firm’s educational materials to slides in Luminary’s Estate360 presentation by adding your own education pages. To add your own Education Pages:
Step 1: Navigation
Navigate to the Settings tab in the upper right corner of the screen.

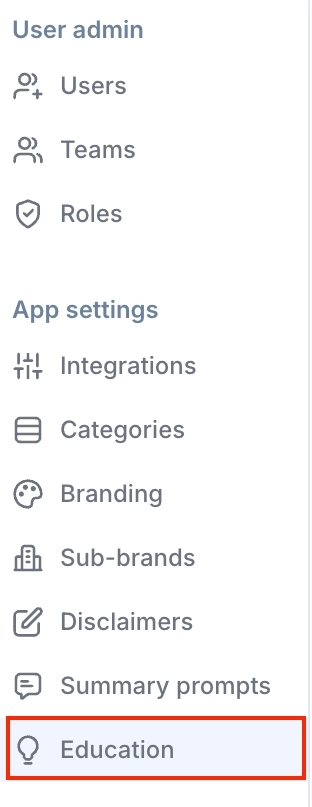
Select the Education section from the Navigation menu on the left side of your screen.
In the upper right hand corner of the Education tab, choose New Page.

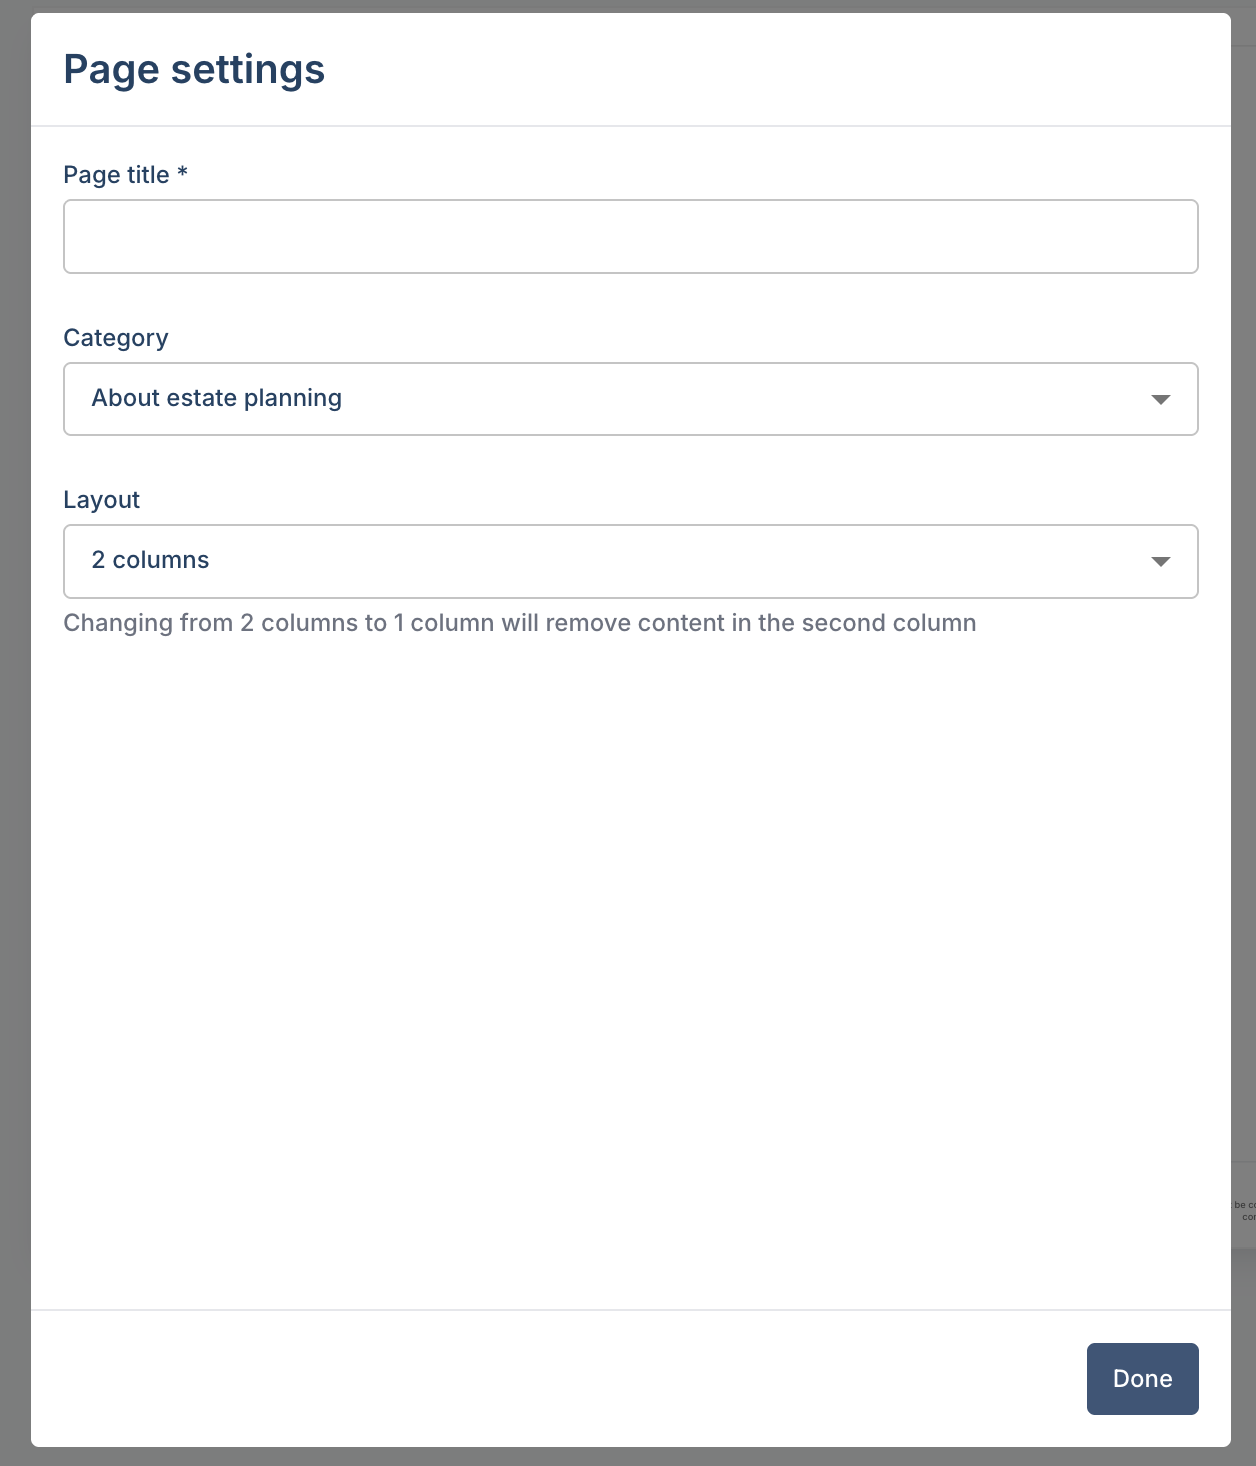
Add a title, an optional category, and your desired layout. Click Done to save the new page settings and go to your Education slide.
Step 2: Customization
Once your new education slide is open, you can drag and drop components from the left side pop up into your slide, then edit those components on the right after clicking any box in the slide.
Here are some helpful tips to get you started:
The Add Components on the left side of the screen are drag and drop only, clicking them won't add them to your slide.
To drag and drop, click and hold the component.
When dragging and dropping components, the green line indicates where the box will show up in your list of components.
To reorder components, click and hold any component on the page, then use the green line to reorder.
Callouts create a highlighted section of the page. To add text to a callout, drag and drop Rich Text into the highlighted box.
To edit any component, click the component you wish to edit.
All components have bolding, italics, and strikethrough
List items have various icons and colors
To rename the slide or change the original category or layout, click the Settings icon in the upper left corner.
Click Save Page to add your custom educational material to the list of education pages for your company.
Please note: Education materials added or changed will change that material across your whole platform